
Summer 2026 Nail Art Trends You Can Easily Do at Home
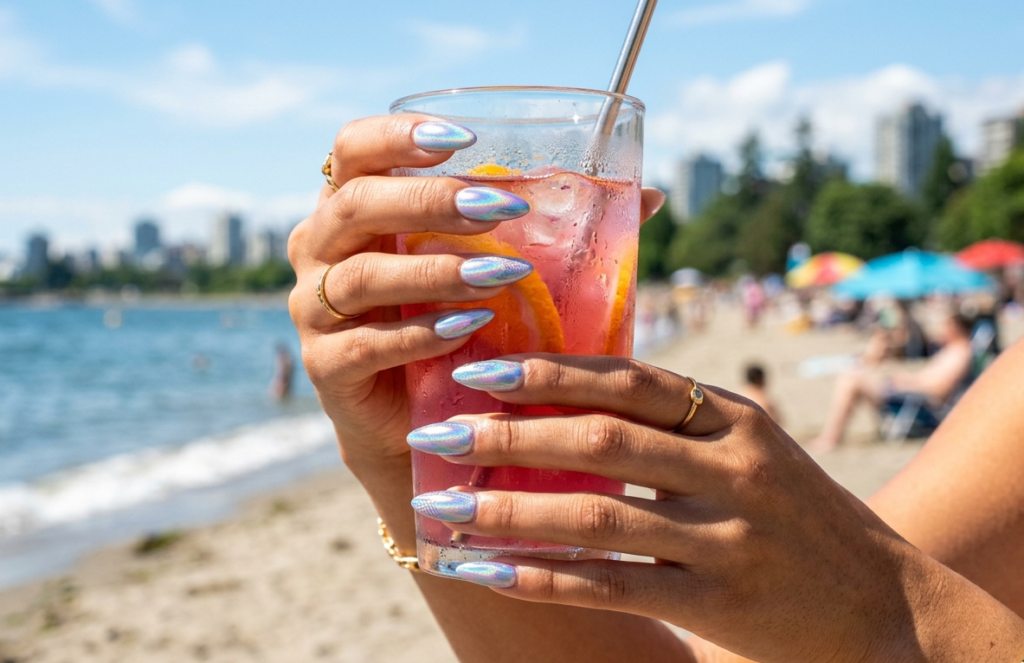
Summer is the ultimate season to express your personal style through vibrant, creative colors. This year, the nail world is experiencing a beautiful shift. We are seeing a unique blend of high-tech futuristic finishes alongside clean, nostalgic aesthetics. You don’t have to wait weeks for a salon opening to try these gorgeous looks. With the right DIY nail kit and high-quality sets, you can replicate the latest runway styles effortlessly in your living room. Let’s dive into the five hottest nail art trends for summer 2026 that will elevate your look. Trend 1: Summer 2026_Mintcore & Lemoncore Vibes Get ready to refresh your look with the season’s most invigorating color palette: refreshing mint and zesty lemon! We’re taking these bright, cheerful shades to the next level with crisp French tips and playful dot art that add a sweet, youthful charm to your manicure. To top it all off, we’ve added adorable star charms as a delicate highlight, making your nails the ultimate accessory for those sunny summer days. Trend 2: Silver Pearl Gradient Perhaps you love timeless elegance with a modern edge? In this case, the silver pearl gradient is your perfect match. Unlike heavy, chunky glitters, this look focuses on a micro-fine, liquid-like silver shimmer. Consequently, it catches the light beautifully with every movement. By concentrating the pigment at the tips and fading it toward a sheer base, you create an optical illusion. As a result, your nails will look instantly elongated and sophisticated. Indeed, this design defines “quiet luxury.” Although it is subtle enough for the boardroom, it radiates under the sun. Therefore, understated shimmer makes a powerful impression. the most powerful impression. Trend 3: Minimalist Micro-French Layouts For those who love understated luxury, classic styles are shrinking. The traditional thick white French tip is replaced by the micro-French manicure. This involves painting an incredibly thin, hairline-precise stroke along the very edge of the nail tip. It makes short, natural hands look elongated, clean, and highly sophisticated. Instead of basic white, try using bright summer colors like neon lime green, electric cobalt blue, or hot pink for that micro-line accent. It is one of our favorite minimalist nail ideas because it matches any outfit effortlessly while adding a subtle pop of color. Trend 4: Water Droplet Art Summer manicures are redefined this season through tactical textures. Notably, three-dimensional water droplet art is leading the movement. When set against a sophisticated cool-gray base, these hyper-realistic, raised gel droplets mimic morning dew. They sit effortlessly on your fingertips. Moreover, the contrast between the smooth base and glossy droplets creates incredible depth. Thus, it looks like a piece of contemporary art. We love this minimalist, avant-garde idea. Because it plays with light rather than bright colors, it is flattering on all skin tones. Furthermore, it serves as a striking conversation starter. Trend 5: Mirror Powder Art Alternatively, do you love the “Clean Girl” aesthetic but want an editorial twist? For this reason, pearl mirror powder art offers an ethereal, inner-lit glow. Rather than creating harsh, metallic chrome reflections, this technique buffs fine, translucent powder over a milky nude base. The result is a soft-focus finish. Specifically, it mimics the luminous interior of a natural seashell or a rare south-sea pearl. Because it is highly sophisticated, it makes your hands look perpetually groomed. Consequently, this minimalist approach achieves maximum impact. It matches any capsule wardrobe effortlessly, providing a high-end, salon-fresh appearance. How to Get These Looks Instantly with Nail Muse Summer Kits You don’t need years of professional art school training to sport the finest hands on the beach this year. At Nail Muse, we curate seasonal drops that include all the powders, fine brushes, and custom designs needed to make home styling simple. Upgrade your summer accessory game by browsing our fresh lineup of limited-edition summer bundles. If you want to make sure your creations survive your summer pool trips, check out our guide on How to Make Gel Nails Last Longer. And when you’re ready for a change, read our safe Damage-Free Gel Nail Removal at Home guide to keep your natural nails healthy!
How to Safely Remove Gel Nails at Home Without Damage
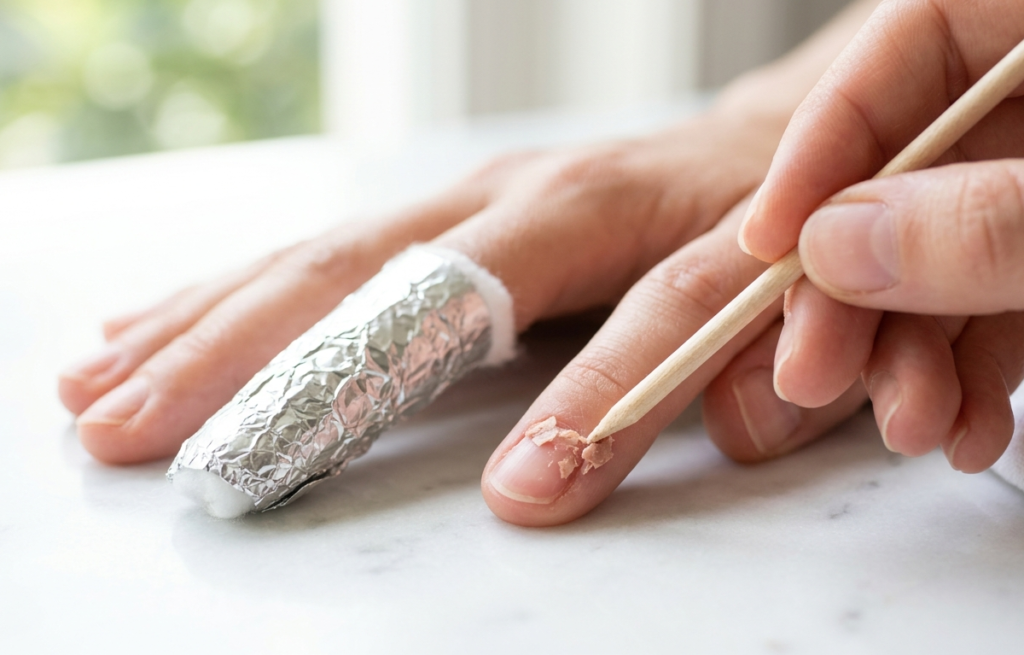
Gel manicures are wonderful for their durability, but there comes a time when they must be removed. Whether you are ready for a fresh color change or your nails have grown out too far, removing your gel safely is crucial. Unfortunately, many home users ruin their natural nail beds during this phase. If you have ever peeled off a loose gel nail, you probably noticed white patches left behind on your nail plate. That isn’t leftover glue—that is the top layer of your actual nail being torn away. In this guide, we will teach you how to perform a completely damage free gel nail removal at home, keeping your hands healthy and strong. The Danger of Peeling: What Happens to Your Natural Nails It is incredibly tempting to pick or peel at a gel manicure once it begins to lift at the edges. However, doing so causes severe trauma to the natural nail. The bond between high-quality gel and your nail plate is incredibly strong. When you force the gel off mechanically, you strip away critical keratin layers. This results in thin, weak, and peeling nails that bend easily and feel painful under hot water. If your nails become too thin, future gel applications or custom press-on nails will not adhere properly because the foundation is unstable. Patience is the key ingredient to maintaining beautiful hands. Tools You Need for Safe Home Removal You do not need industrial machines to take off your gel safely. You can buy most of these essential items at Nail Muse Basic. -Pure Acetone (Standard nail polish remover is too weak) -A coarse nail file (100/180 grit) -Aluminum foil squares and cotton balls (or gel removal clips) -A wooden cuticle pusher or orange stick -High-quality cuticle oil or lotion The Gentle Soak Method: Step-by-Step Guide Follow this systematic method to dissolve the gel structure cleanly without scraping off your natural anatomy. Step 1: File Off the Shiny Top Coat This is the most important step. The top coat of any gel manicure is completely waterproof and resistant to acetone. Take your coarse nail file and gently sand down the shiny surface of every nail. File until the shine is completely gone and you see the color layer underneath. Be careful not to file too deep into your real skin or cuticle line. Step 2: Set Up the Acetone Wraps Soak a piece of cotton ball generously in pure acetone. Place the wet cotton directly on top of your filed nail bed. Wrap a square of aluminum foil tightly around your finger to seal the cotton pad in place. The foil traps the heat from your finger, which speeds up the chemical breakdown of the soft gels. Repeat this for all ten fingers. Step 3: Wait Patiently Leave the wraps undisturbed for fifteen to twenty minutes. Do not remove them early to check on the progress, as letting the air inside cools down the acetone process. Use this time to relax and listen to a podcast. Step 4: Gently Push the Gel Away Remove the foil wraps one finger at a time. The gel should look puffed up, cracked, and crumbly. Take your wooden orange stick and gently scrape the loose gel off the nail plate from the cuticle downward. It should slide off effortlessly like wet paper. If the gel is still stubborn, wrap it back up with acetone for another five minutes. Never use force. Post-Removal Care: Rebuilding Nail Strength After Stripping Once all the product is safely cleared away, your natural nails will look slightly dry due to the dehydrating nature of pure acetone. Immediately wash your hands with warm water and soap to remove any chemical residue. Next, massage a generous drop of nourishing cuticle oil or jojoba oil into your nail beds and surrounding skin. This replaces lost moisture and keeps the nail plate flexible. If you want to give your nails a rest period before applying your next DIY nail kit, use a strengthening clear treatment layer. Protect Your Nail Foundation Healthy extensions and beautiful polishes require a strong foundation. By mastering safe home removals, you ensure your hands remain beautiful, tough, and ready for any future art styles. To see what designs are popular right now, check out our guide on Nail Art Trends for Summer 2026, or learn how to maintain your looks with our tips on How to Make Gel Nails Last Longer.
How to Make Your Gel Nails Last Longer
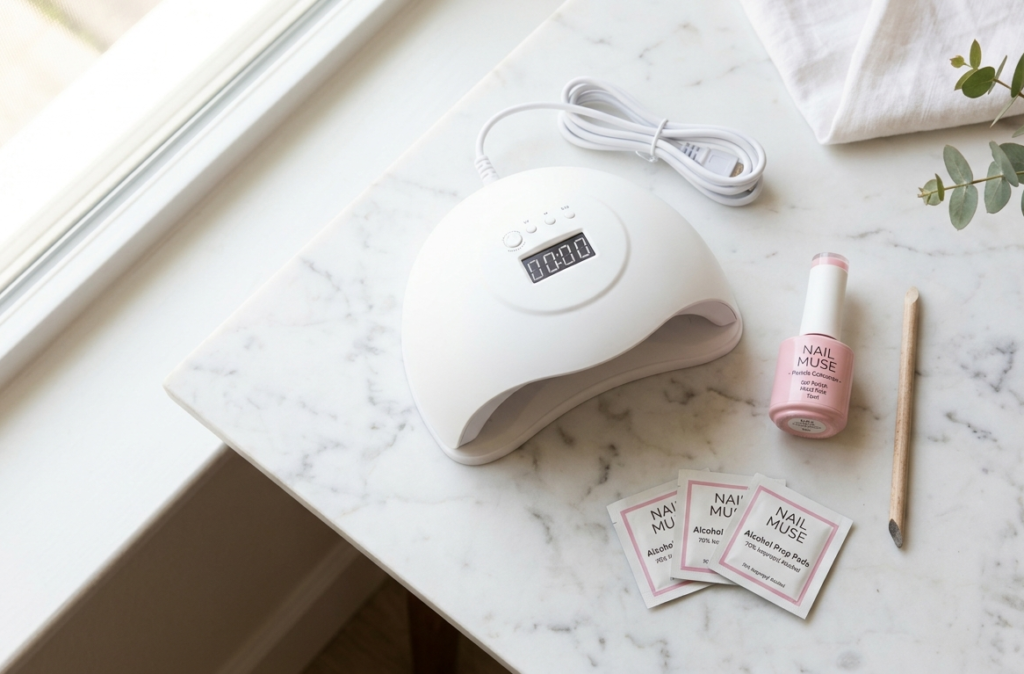
Having a fresh, beautiful manicure feels amazing, but nothing is more frustrating than seeing your hard work chip or peel after just a few days. Many people believe that long-lasting gel nails can only be achieved in an expensive salon. However, the secret to longevity isn’t the price of the lamp or the salon chair—it is all in the technique. In this comprehensive guide, we will uncover the top professional secrets to maximizing your nail retention, preventing common lifting issues, and protecting your natural nails. Why Do At-Home Gels Chip? Common Beginner Mistakes Before diving into the solution, it is important to understand why at-home gel nails fail early. The primary culprit behind premature lifting is improper bonding. Gel polish requires a completely clean, dry, and textured surface to adhere to. Many beginners make the mistake of leaving invisible cuticle skin on the nail bed, applying coats that are too thick, or failing to cap the free edge of the nail. When moisture or natural oils get trapped underneath the gel layer, the bond breaks, leading to quick peeling. By identifying these mistakes, you can adjust your routine using your Nail Muse DIY kits to ensure a salon-grade finish. Step-by-Step: Nail Prep Secrets Before Applying Your Kit The secret to a manicure that lasts for weeks is 90% preparation and only 10% application. Follow these foundational steps carefully before opening your gel bottles. 1. Remove Invisible Cuticle Dead Skin Use a wooden or metal cuticle pusher to gently push back your cuticles. There is a thin layer of dead skin attached to the nail plate called the cuticle scrapings. If you paint gel over this skin, it will lift within forty-eight hours. Gently buff this area to clear the surface completely. 2. Dehydrate and Cleanse the Nail Plate After shaping your nails with a file, wipe each nail thoroughly with an alcohol prep pad or a dedicated nail dehydrator. This step removes all natural oils and moisture. Avoid touching your face or hair after this step, as you will transfer oils back onto the clean nail. 3. Buff the Shine Away Gel cannot stick to a smooth, shiny surface. Use a soft buffer block to gently remove the natural shine from your nails. You are not trying to thin your nails; you are simply creating microscopic texture for the base coat to grip onto. Application Tips for Maximum Retention Once your prep is flawless, the way you apply the product determines its flexibility and strength. Always apply thin, even layers. Thick layers do not cure properly under the UV/LED lamp, leaving trapped liquid gel underneath that causes immediate sliding. Furthermore, always “cap the edge.” This means running the brush horizontally along the very tip of your nail for every single layer—base coat, color, and top coat. This seals the gel around the nail tip, preventing water from seeping underneath when you wash your hands or take a shower. Aftercare Tips: Daily Habits to Protect Your Manicure Your lifestyle habits play a major role in how long your nails stay perfect. Treat your nails like jewels, not tools. Avoid using your nails to pry open soda cans, scrape stickers, or unbox packages. Additionally, wear rubber gloves whenever you are doing household chores, washing dishes, or using harsh cleaning chemicals. Water exposure expands your natural nail bed, causing the rigid gel layer on top to crack and lift over time. Daily application of cuticle oil will keep the surrounding skin hydrated and prevent side lifting. Longevity Starts with the Right Preparation Achieving beautiful, long-lasting gel nails at home is completely possible when you follow correct structural prep rules. By investing time into cleaning, dehydrating, and capping your edges, you double the life of your home manicure. Ready to start your journey to flawless, chip-free nails? Explore our professional-grade DIY nail kits at Nail Muse today. For more helpful maintenance tricks, don’t miss our guide on Damage-Free Gel Nail Removal at Home to protect your nails during your next switch, or check out the latest Nail Art Trends for Summer 2026 to pick your next look!