
Gel manicures are wonderful for their durability, but there comes a time when they must be removed. Whether you are ready for a fresh color change or your nails have grown out too far, removing your gel safely is crucial. Unfortunately, many home users ruin their natural nail beds during this phase.
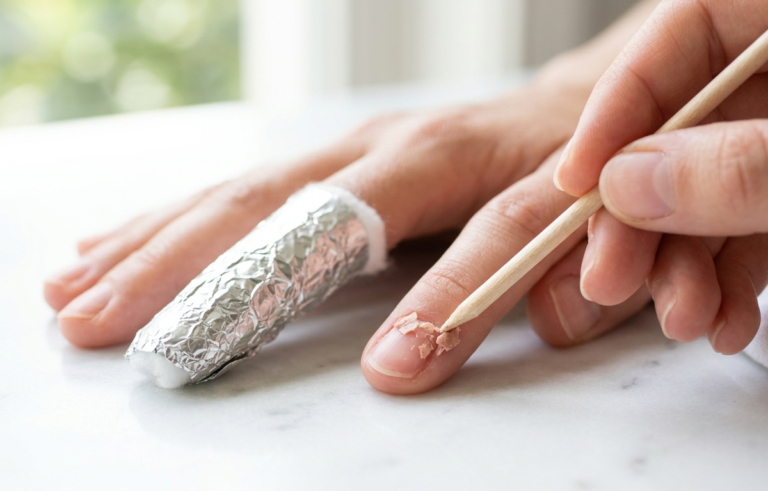
If you have ever peeled off a loose gel nail, you probably noticed white patches left behind on your nail plate. That isn’t leftover glue—that is the top layer of your actual nail being torn away. In this guide, we will teach you how to perform a completely damage free gel nail removal at home, keeping your hands healthy and strong.
The Danger of Peeling: What Happens to Your Natural Nails
It is incredibly tempting to pick or peel at a gel manicure once it begins to lift at the edges. However, doing so causes severe trauma to the natural nail. The bond between high-quality gel and your nail plate is incredibly strong. When you force the gel off mechanically, you strip away critical keratin layers.
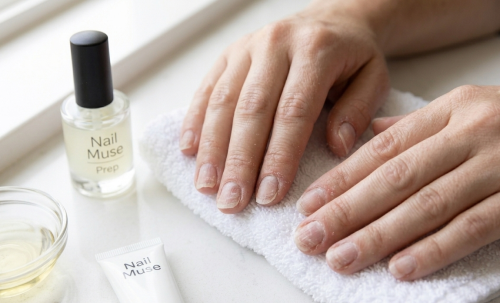
This results in thin, weak, and peeling nails that bend easily and feel painful under hot water. If your nails become too thin, future gel applications or custom press-on nails will not adhere properly because the foundation is unstable. Patience is the key ingredient to maintaining beautiful hands.
Tools You Need for Safe Home Removal
You do not need industrial machines to take off your gel safely. You can buy most of these essential items at Nail Muse Basic.
-Pure Acetone (Standard nail polish remover is too weak)
-A coarse nail file (100/180 grit)
-Aluminum foil squares and cotton balls (or gel removal clips)
-A wooden cuticle pusher or orange stick
-High-quality cuticle oil or lotion
The Gentle Soak Method: Step-by-Step Guide
Follow this systematic method to dissolve the gel structure cleanly without scraping off your natural anatomy.
Step 1: File Off the Shiny Top Coat
This is the most important step. The top coat of any gel manicure is completely waterproof and resistant to acetone. Take your coarse nail file and gently sand down the shiny surface of every nail. File until the shine is completely gone and you see the color layer underneath. Be careful not to file too deep into your real skin or cuticle line.
Step 2: Set Up the Acetone Wraps
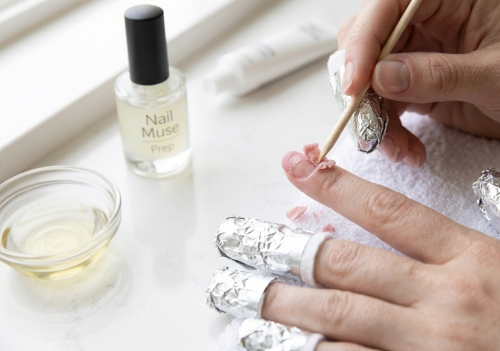
Soak a piece of cotton ball generously in pure acetone. Place the wet cotton directly on top of your filed nail bed. Wrap a square of aluminum foil tightly around your finger to seal the cotton pad in place. The foil traps the heat from your finger, which speeds up the chemical breakdown of the soft gels. Repeat this for all ten fingers.
Step 3: Wait Patiently
Leave the wraps undisturbed for fifteen to twenty minutes. Do not remove them early to check on the progress, as letting the air inside cools down the acetone process. Use this time to relax and listen to a podcast.
Step 4: Gently Push the Gel Away
Remove the foil wraps one finger at a time. The gel should look puffed up, cracked, and crumbly. Take your wooden orange stick and gently scrape the loose gel off the nail plate from the cuticle downward. It should slide off effortlessly like wet paper. If the gel is still stubborn, wrap it back up with acetone for another five minutes. Never use force.
Post-Removal Care: Rebuilding Nail Strength After Stripping
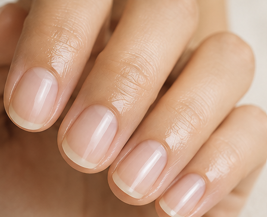
Once all the product is safely cleared away, your natural nails will look slightly dry due to the dehydrating nature of pure acetone. Immediately wash your hands with warm water and soap to remove any chemical residue.
Next, massage a generous drop of nourishing cuticle oil or jojoba oil into your nail beds and surrounding skin. This replaces lost moisture and keeps the nail plate flexible. If you want to give your nails a rest period before applying your next DIY nail kit, use a strengthening clear treatment layer.
Protect Your Nail Foundation
Healthy extensions and beautiful polishes require a strong foundation. By mastering safe home removals, you ensure your hands remain beautiful, tough, and ready for any future art styles.
To see what designs are popular right now, check out our guide on Nail Art Trends for Summer 2026, or learn how to maintain your looks with our tips on How to Make Gel Nails Last Longer.